Import the Dataset and Model
Copy the tutorial inputs into your Project and confirm their task settings.
Import copies each external source into the Project as an independently owned, content-identified Material. The original download remains separate.
Import the Dataset
- Open Datasets > Import.
- Select the extracted Dataset folder.
- Confirm YOLO Object Detection as the detected format.
- Confirm the Dataset split and class information published on the download page.
- Start the import and wait for it to complete.
Import the complete folder as Helmet v2 full dataset: 2,335 images (Train 2,043 / Validation 195 / Test 97). Random sampling happens later on the Prepare Prediction Set page, not during import.
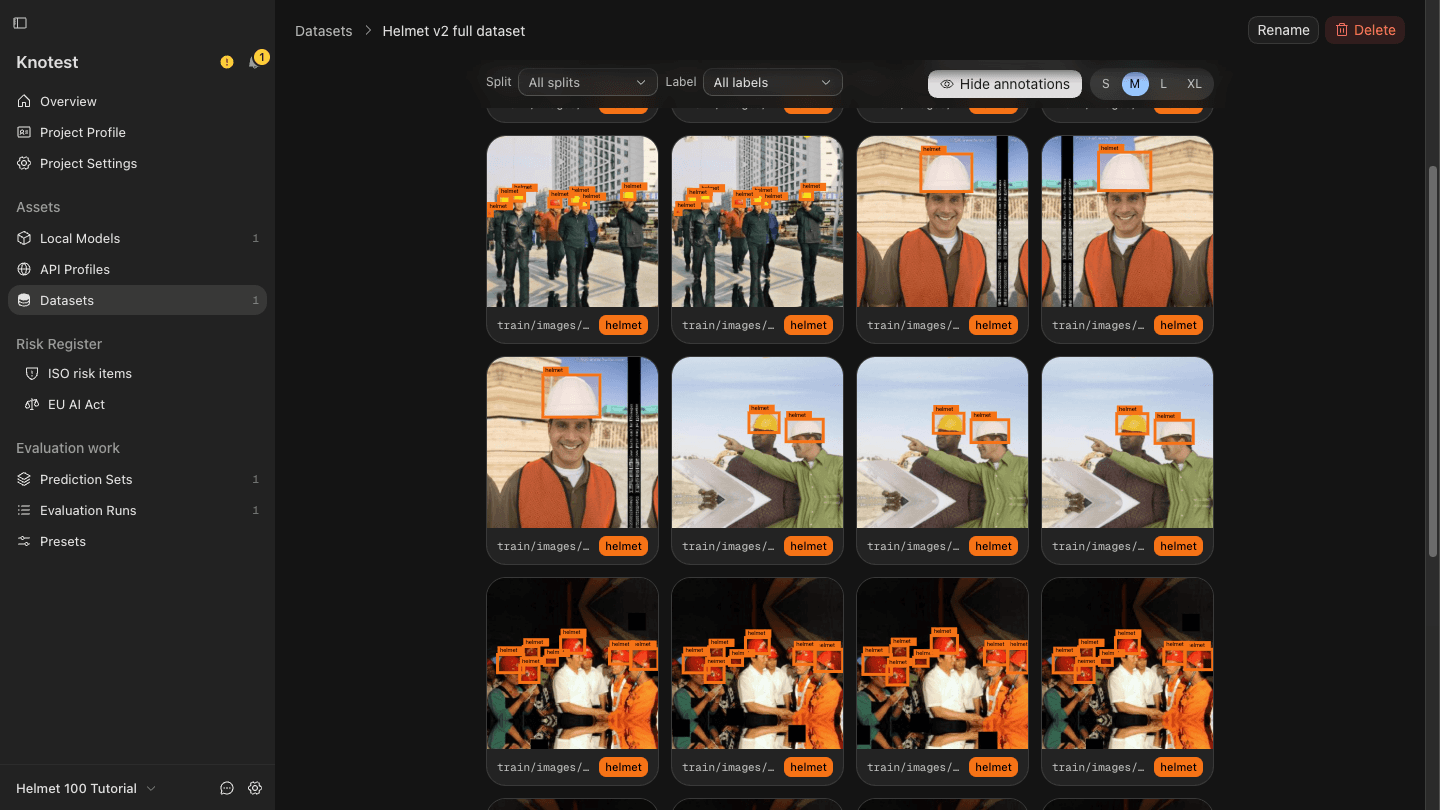
Import may continue while you visit another screen. Use the Runtime monitor or the running item in the Datasets list to return to its progress. If it fails, read the retained diagnostic before starting a fresh import.
Import the Model
- Open Assets > Local Models > Import.
- Select the downloaded
.ptfile. - Confirm the Model name,
YOLObackend, andObject Detectiontask. - Enter the exact class labels and inference settings published with the Model.
- Save the Model. Knotest verifies it when preparing Prediction Generation.
The documented demo was verified with helmet-object-detection-best.pt:
| Setting | Value |
|---|---|
| Backend / task | YOLO / Object Detection |
| Class order | 0: helmet |
| Input dimensions | 640 × 640 |
| Minimum object confidence | 0.25 |
| Duplicate-box overlap (NMS IoU) | 0.5 |
| Class-agnostic NMS | Off |
| Maximum detections | 300 |
| Tutorial split | Validation: random 100 of 195, seed 42 |
Confidence, overlap, and split are reviewed in Prediction Generation's Run options. The Model detail below shows class order and input dimensions.
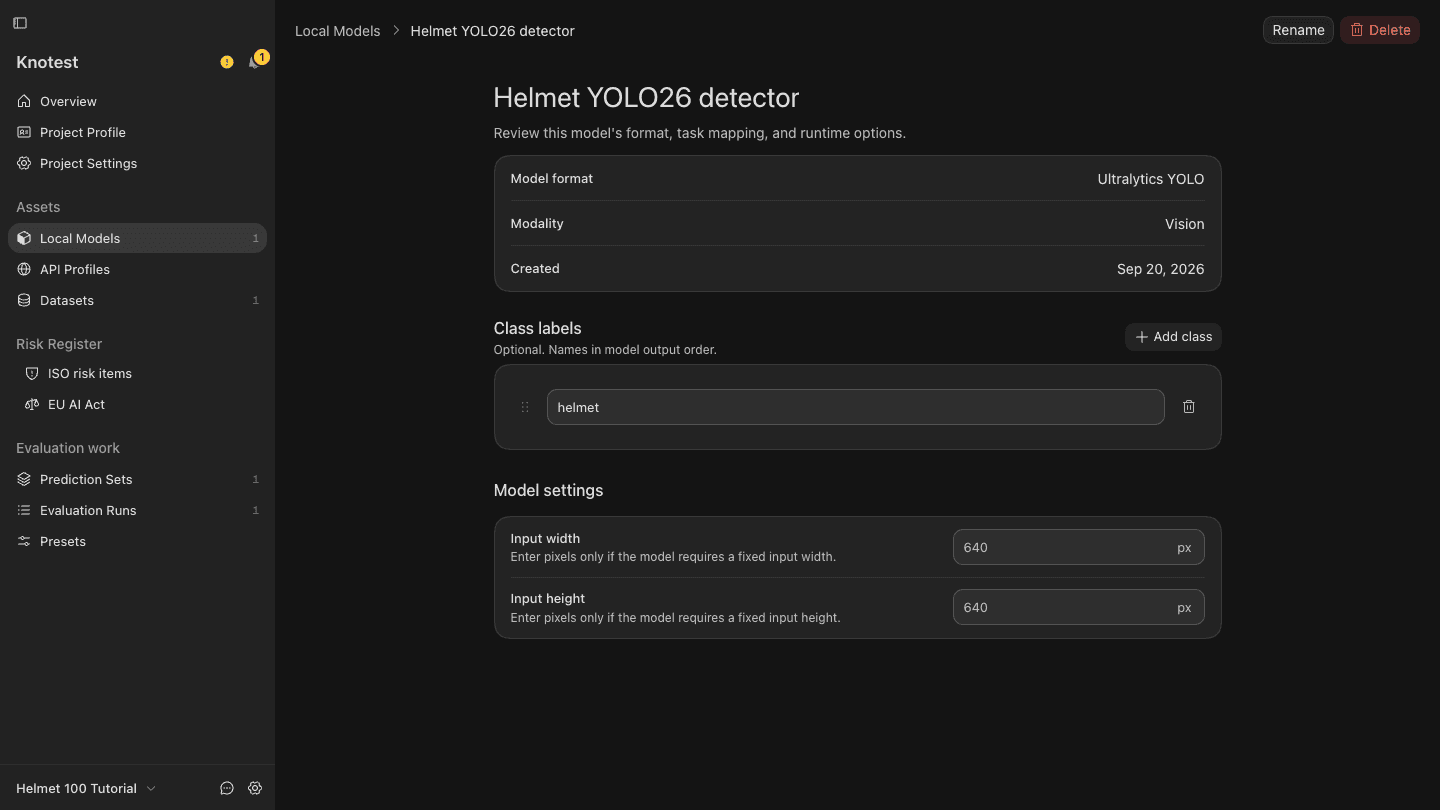
Do not change the label order to make names look more natural. Dataset and Model class alignment is part of the Evaluation input contract.
Continue to Generate a Prediction Set.